My Store
GreaseWeazle Version 4 New Firmware Complete Kit Read Write Atari ST & Amiga
GreaseWeazle Version 4 New Firmware Complete Kit Read Write Atari ST & Amiga
Couldn't load pickup availability
1 * GreaseWeazle with 3D printed case.
1 * 34-pin floppy data cable(Straight)
1 * 4-pin power cable(5V)
1 * USB Type-B cable
1 * Molex connector
GreaseWeazle-firmware-1.5 Programmed!
We provide you complete kit for using the GreaseWeazle :)
Very Important:
To avoid damage to your drive or Greaseweazle, please set up your hardware in the following order:
1. Connect your drive to Greaseweazle before connecting to USB or external power supply.
2. Connect Greaseweazle to USB power.
3. Switch on drive power, if drive is not powered via Greaseweazle.
4. Disconnection order is the opposite of connection order.
Greaseweazle V4 has a 6x2 jumper block through which a number of features can be accessed:
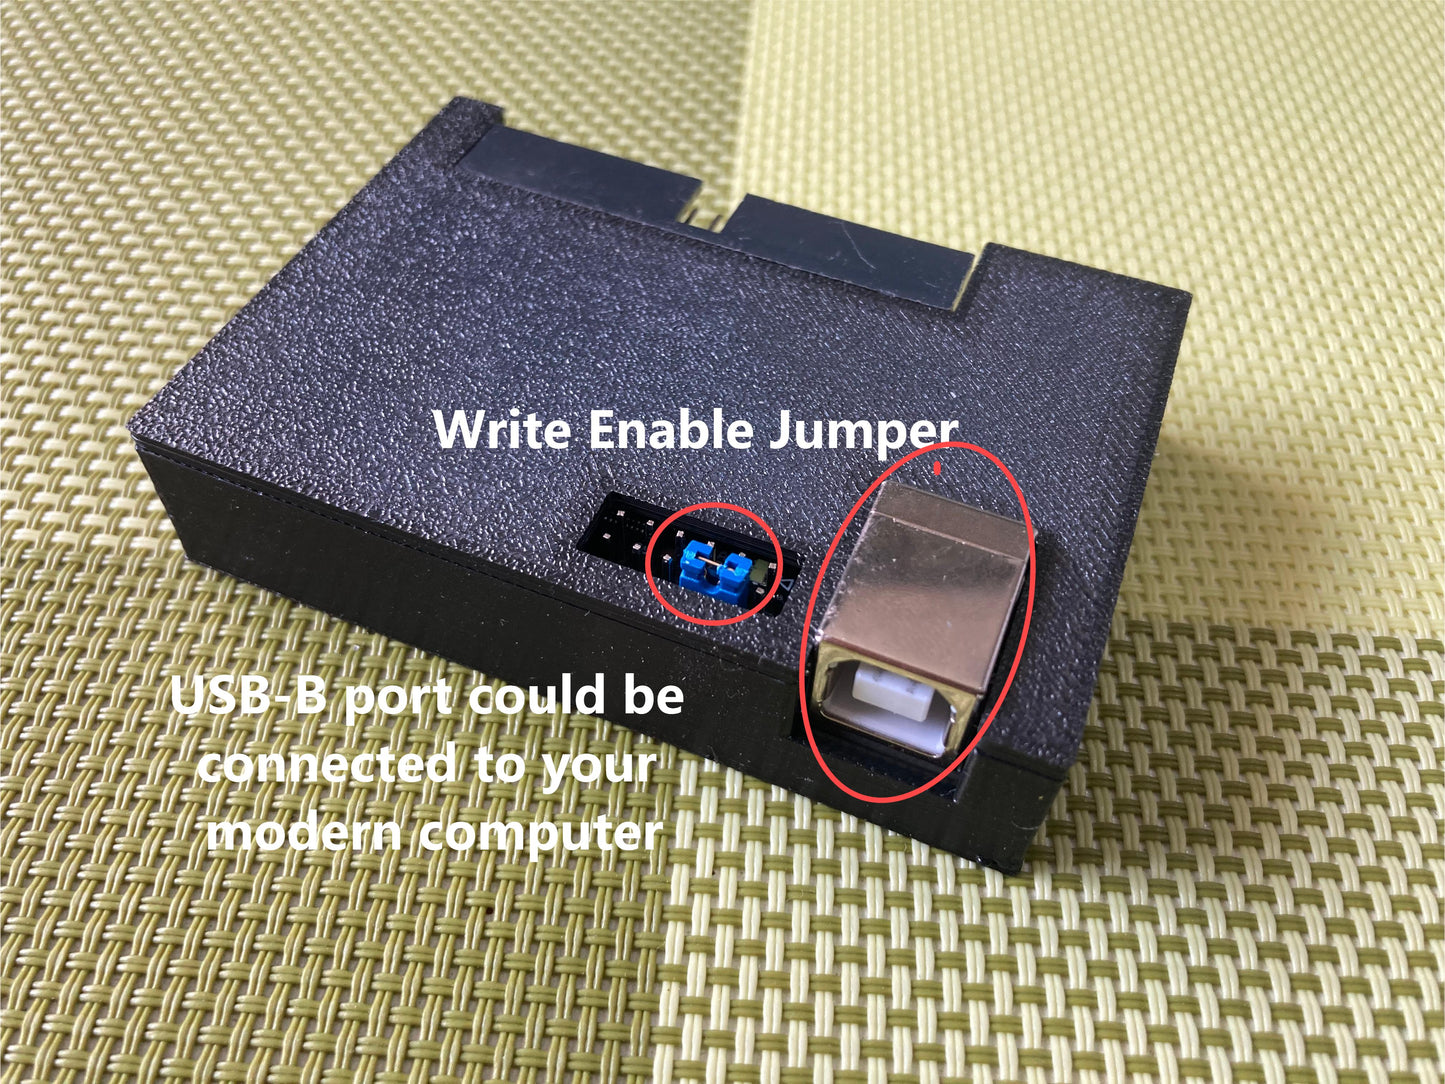
WRT.ENA: From factory these pins are jumpered to allow your Greaseweazle to write to disk. Remove this jumper to physically disable write support and provide an extra layer of safety when preserving precious vintage media.
Firmware Update Mode: Your V4 will automatically enter firmware-update mode when requested. However this mode can also be manually forced by placing a jumper across the TXO-RXI pins.
Your drive connects to Greaseweazle using a standard 34-pin ribbon cable. If your cable will not plug into the V4, note that some cables have a blocked pin at each end: pin 5 at the Greaseweazle, and pin 3 at the drive connector. You can fix this by drilling out the cable's blocked pin 5, or by carefully cutting and removing pin 5 from the Greaseweazle connector, or by rooting around for a 34-pin cable without blocked pins.
By default the V4 boards acts like an IBM-PC controller addressing Drive A: This assumes a PC floppy drive and a ribbon cable with a 'twist' on pins 10-16.
A common alternative setup is a PC drive with straight ribbon cable. In this case you must select drive B (--drive=b)
Another common setup is an Amiga, Atari ST, or other vintage drive which responds to drive-select DS0 (pin 10). In this case you must use a straight cable and select drive 0 (--drive=0).
For further info please see the documentation for Drive Select.
3.5-inch drives typically require only 5v power and can usually be supplied directly from the power header on the Greaseweazle board. Older 5.25- and 3-inch drives require 12v power too: These you must connect to a separate power source.
If you have problems accessing your drive and you believe your Greaseweazle is correctly set up, it can be because the drive requires more power than it can obtain via USB. In this case try connecting your drive to its own power supply.
For a suitable drive power supply for 3.5- and 5.25-inch drives, search for "Molex power supply". These usually feature 5V and 12V supply at 2A. They connect directly to a 5.25" drive, or to a 3.5" drive via a Molex-to-floppy adapter cable.
Please be sure to read the relevant projects on GitHub(greaseweazle) before purchasing!
Special thanks to:
Keir Fraser -- The author of greaseweazle project. https://github.com/keirf/greaseweazle (Public Domain)
Share


